Dynamics AX 7: Form extensions and event handling
As I’ve just got my hands on AX 7 I wanted to do a little exercise that allowed me to work with form extensions and also the new event handlers. The task I attempted was to add a small street view thumbnail to the address grid that will show the view of the address. Unfortunately, Bing Streetside was not available in my area so I have used Google’s StreetView as the method to produce the images. To do this you’ll need to have an API key from Google. If you have a quick read of their documentation, you’ll see all we need to do is build a URL and then pass it to our image control.
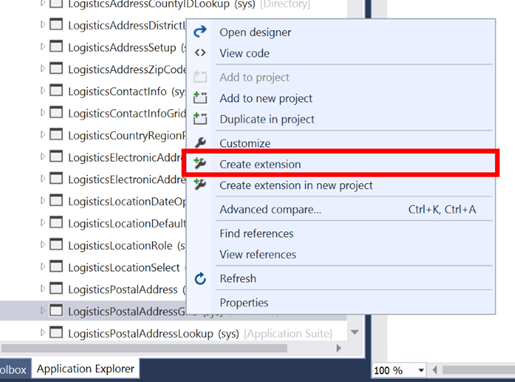
To develop this mod we will need to make changes to the standard form LogisticsPostalAddressGrid. With AX 7 we now have the option of creating an extension rather than changing the form on our layer and requiring a merge. This allows for easier deployment and while cannot be used in every instance it should be your default option for customisations. To add a new extension right click on the object and select ‘Create extension’:
This will then create and add the extension to the standard object to your project. You can then edit the extension.
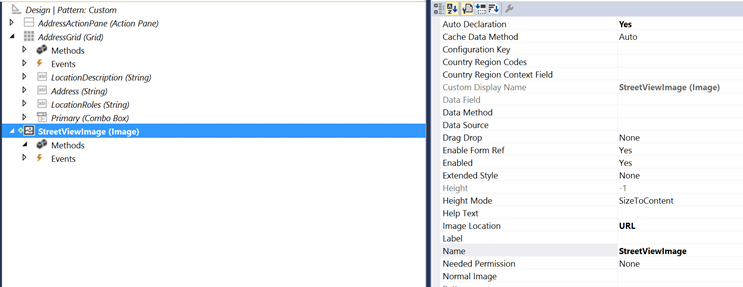
We can now add the new control to the form extension and set the properties we need:
With the image created we can now look to see what event we can use. I would like to change the image every time we change the record, in previous versions of AX we would override or edit the active method. Looking at the new events on the form data source we can see that there is a event called “OnActivated”
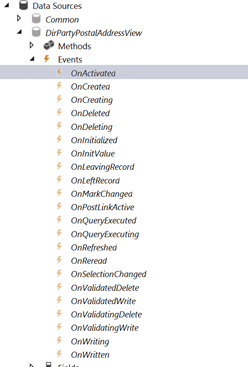
This will fire after the super of “active” so we will use that. To use these new methods we need to create a new class and an event handler method to write our code within. Once we have our new class created we can just right click on the method and select ‘Copy event handler method’ and this will put in to our clipboard the bits we need to create our new method


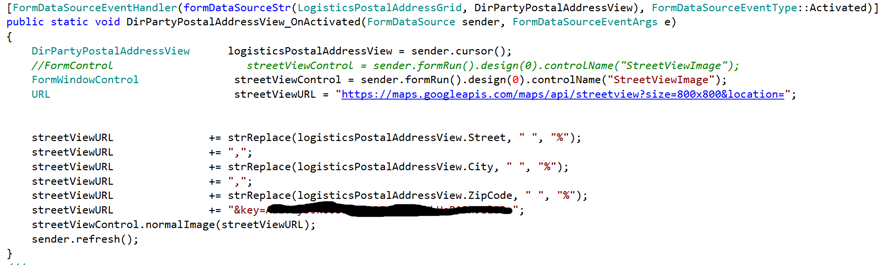
With that done we are pretty much back to how things used to be. We can write the code to build the URL and then set the URL for the image:
We can then rebuild and test:

Not the prettiest, but enough to show the principle.
